Make Some Noise for Reuse: Upcycled Drum Workshop Recap & DIY

There’s a special kind of magic in giving everyday things a new purpose. That’s exactly what we did at a recent Upcycled Drum Workshop!
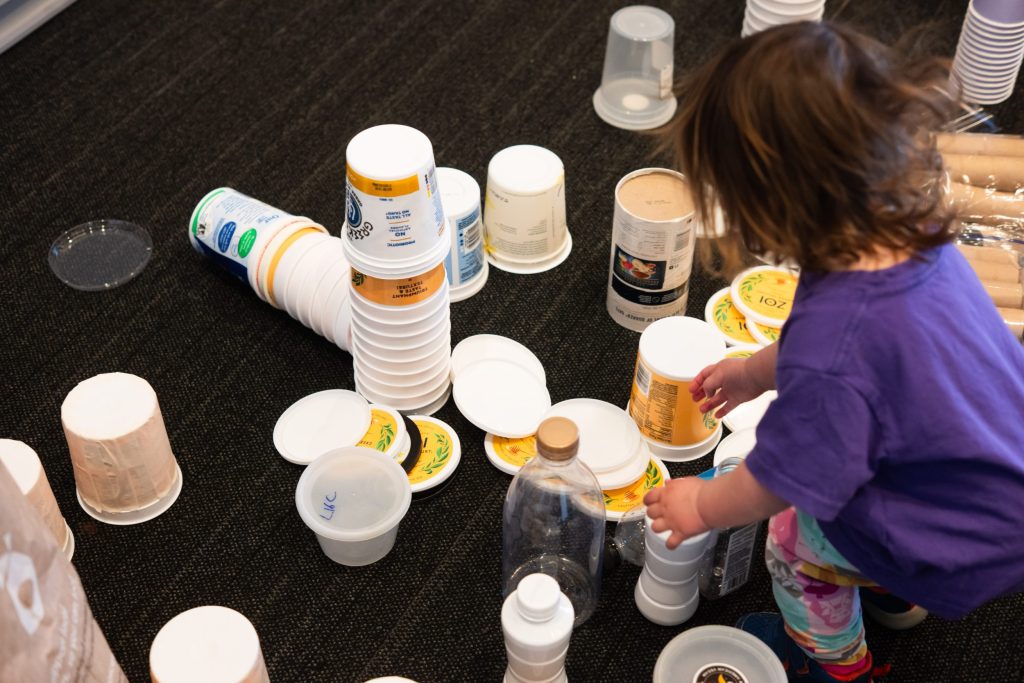
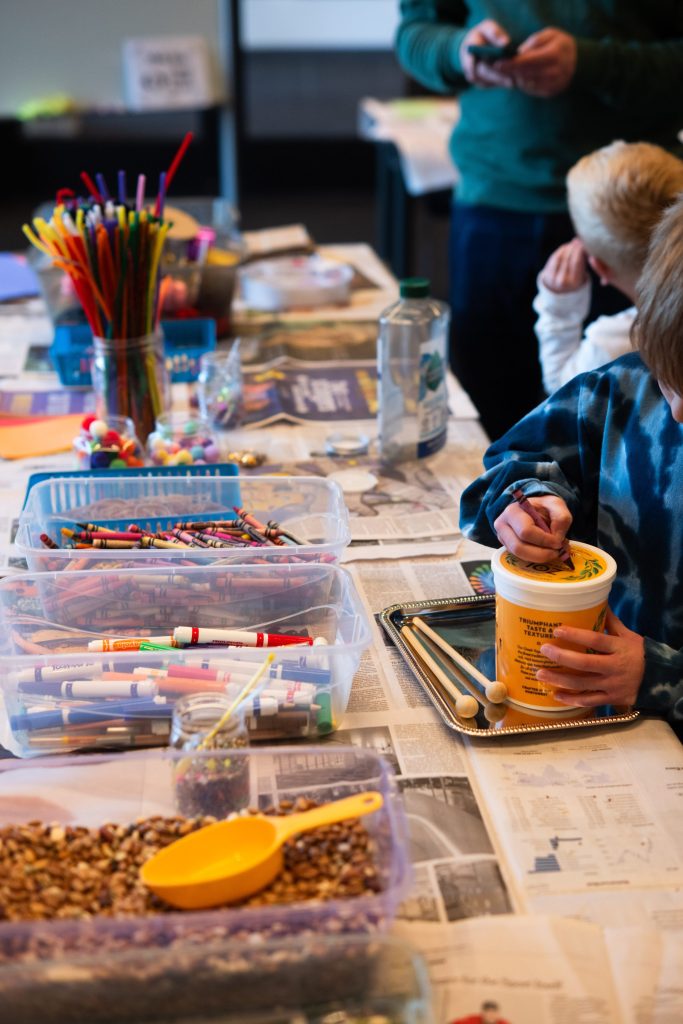
Earlier this month, The Environmental Center supported Little Roots Co-Op’s Upcycled Drum Workshop in Redmond. Toddlers and preschoolers turned single-use items into colorful and sparkly instruments. With our new drums and shakers in hand, Mrs. J taught these little musicians about dynamics and tempo of instruments made from a wide variety of materials – yogurt tubs, aluminum cans, plastic bottles, paper rolls, and more! Our young friends showed just how much potential hides in what we usually throw away.
Why reuse when we can recycle? Remember the waste hierarchy: Reduce, Reuse, then Recycle. Think about all the things we toss out everyday. Recycling is important (view the latest Oregon recycling list here), but it’s only part of the solution. Items we place in the recycling bin often travel hundreds of miles to processing centers, using up energy and resources along the way. Recycling is meant to be the last resort for materials that we can’t eliminate by reducing, repairing, or reusing.That’s where upcycling really shines. Instead of sending materials off on an energy-intensive journey, we can give them a new life right here at home.
Upcycling is a creative practice for the maker in all of us -it asks us to look at ordinary objects and imagine new possibilities. Like any skill, the more we practice, the more inventive we become. That’s why we love practicing creative reuse with our youngest community members. Want to give it a try? Practice with us. Here’s how to make your own upcycled drum or shaker at home…
Grown-up alert: Some steps, like using a glue gun or cutting materials, are best done by adults.

Step 1. Gather materials.
Containers: Collect clean and dry yogurt tubs, aluminum cans, empty bottles, tubes, and other interestingly shaped items that might be in your recycling bin or destined for the landfill. Don’t forget the lids!
Decorations: Gather paint, markers, stickers, yarn, ribbon, construction paper, glue gun, and any other decorative items you have one hand – leftover scraps from other projects are perfect. Otherwise a trip to a thrift store should have you covered.
Filling: Collect beads, rice, beans, pebbles, or other dry goods to fill your drum or shaker .
Step 2. Fill.
If you’re making a shaker, fill your container with the filling of your choice. You can leave it empty if you’re making a drum.
Step 3. Build.
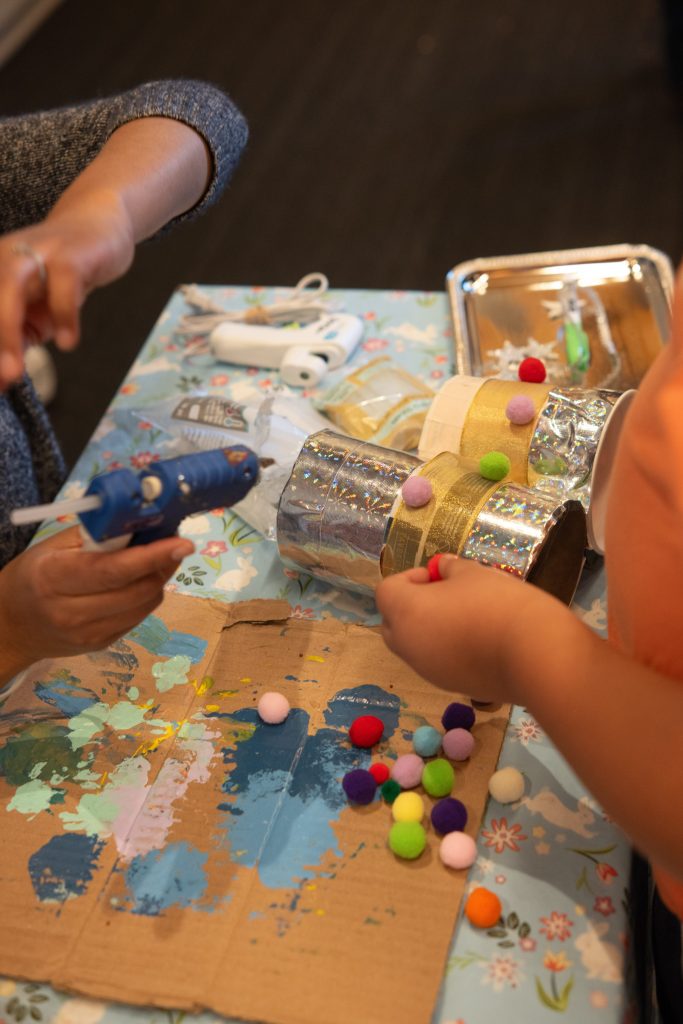
This is a grown up heavy step. A glue gun is your best friend here especially if you are making a shaker – make sure your lids are glued on tight. You can also glue multiple containers together to make bongos or a drum kit.
Step 4. Decorate.
This is the fun part – let your imagination run wild. Remember to leave the lid or bottom of your container somewhat bare, that’s your drum surface!
Step 5. Jam!
Okay this is the fun part! Play your new instrument, start a family band, or put on an impromptu concert!
We’d love to see what you create! If you and your family make upcycled instruments, snap a photo and tag us @envirocenterbend
Shoutout to Mrs. J at Little Roots Co-Op for supporting a cleaner, more creative community – one upcycled drum at a time!! Jayden Souza (Mrs. J) is a co-founder of Little Roots Co-Op, a mom and music teacher at Tom McCall Elementary. She teaches private music lessons here in Redmond and has been working with kids for 15 years. You can reach Mrs. J at jaydenitalia@gmail.com
Here are some pro tips from Mrs. J on things to consider when making your own upcycled drum.
Filling Material (Shakers)
The material you put inside your shaker will determine how loud or quiet it sounds. Larger items (like dry beans) usually create a louder, deeper sound. Smaller materials (like rice, lentils, or sand) create a softer, smoother sound.
Amount of Filling
How much material you add will also affect the sound. More filling makes the shaker heavier and can create a thicker sound. Less filling allows the pieces inside to move more freely and can produce a lighter, sharper sound.
Container Material
The type of container you use can change the tone. Metal, plastic or cardboard will each produce a slightly different sound quality.
Drum Surface (Drums)
The tighter the drum surface is stretched, the higher and sharper the sound will be. A looser surface creates a deeper, lower tone.
Experiment!
There is no single “correct” sound. Try different materials, amounts, and containers until you find a sound you like. Every instrument will be unique.