Three-bin Composting Tips

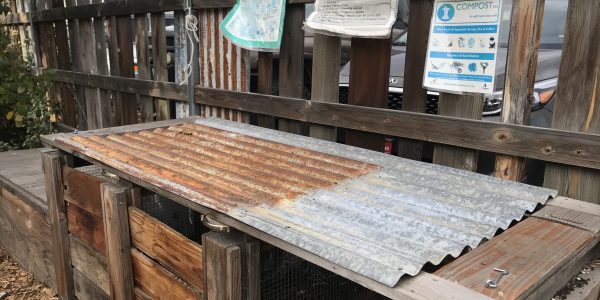
At The Environmental Center, we have a variety of composting systems, and they each have pros and cons. The 3-bin system is useful primarily because it offers space to have compost at 3 different stages of decomposition. For example, you could put all your compost in one bin for a period of time — then stop adding to it, and start adding to a second bin while the first one finishes decomposing. After time, you would move on to the third bin (and likely harvest compost from the first bin around the same time). Check out the video above to see our 3-bin system in action!
In our Kansas Ave. Learning Garden, instead of rotating through all 3 bins, we use one of those for leaf storage every fall. This makes adding dry carbon material to a bin very easy, and we try to do this after adding in fresh kitchen compost every time. This helps give the compost a nice balance of “brown” and “green” (carbon and nitrogen) materials, which is required for a healthy compost.
The other thing that’s required for a healthy compost is a healthy environment for decomposers. Be sure to add water to your pile so it doesn’t dry out, especially during the hot summer months. An easy way to do this is to fill the rest of your kitchen compost container with water before you walk it out to add to your compost. This has the added benefit of helping to get the gunk off the bottom of your kitchen pail. Or, rinse out the pail out after you dump it (depending on your water source this may mean two trips out to your compost bin).
The third key to having a healthy environment for decomposers is to make sure they get oxygen. Stirring or turning the bin regularly helps, as does regularly adding a couple larger items like sunflower stalks to help keep some holes open in the compost pile. Just be mindful, as too much woody debris can dry out your pile and potentially separate the top of the pile from the bottom, which prohibits healthy decomposition. In our environment, it also helps to add red wiggler worms to these kinds of bins, and they do a lot of that ‘stirring’ for you. Read more info on worm composting.
Once the compost is ready, spread it on as many garden beds as possible, usually in the spring and fall. Here’s a photo blog to demonstrate how to harvest that finished product. Happy fall!!